
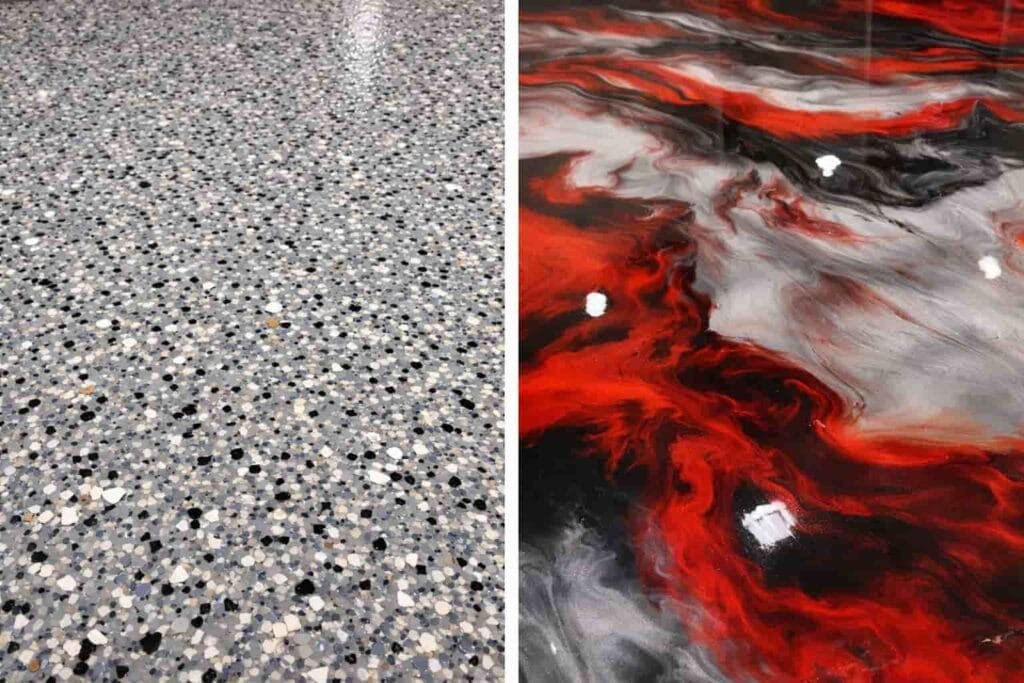
Concrete Prep For Epoxy Floors with Moisture Testing:
A great-looking epoxy floor starts long before the resin is mixed. Whether you’re looking at a flake or metallic epoxy floor coating, the #1 reason coatings fail early—peeling, bubbling, delamination, or “hot tire pickup”—isn’t the topcoat… it’s poor surface prep and unmanaged moisture coming up through the slab.
At DMV Epoxy Pro, we treat prep and moisture testing like the foundation of the entire epoxy floor system—because it is. Here’s exactly what “professional concrete prep for epoxy floors” means, how moisture testing for epoxy floors is measured, and why we install a moisture barrier as part of our standard process.
Why Concrete Prep For Epoxy Floors Matters More Than the Product
Even the best coating can’t bond to:
Smooth, sealed, or contaminated concrete
Dusty surfaces
Old paint/adhesives
Moisture pressure pushing from below
Epoxy and polyaspartic coatings bond mechanically (think “anchoring” into the concrete profile). If the surface isn’t properly profiled and clean, the coating is only as strong as whatever it’s stuck to—which is often dust, oil, or weak concrete paste.
Step-by-Step: Our Professional Concrete Prep Process
1) Protect the Space & Set Up Dust Control
We mask adjacent walls and doorways, protect trim, and set up dust control so the job stays clean and the coating area stays contamination-free.
2) Degrease and Remove Contaminants
Garage slabs often have invisible contamination from:
Tire shine products
Oil and brake fluid
Silicone-based products
Previous sealers
We use commercial degreasers and targeted cleaning methods to lift contaminants out of the pores before grinding.
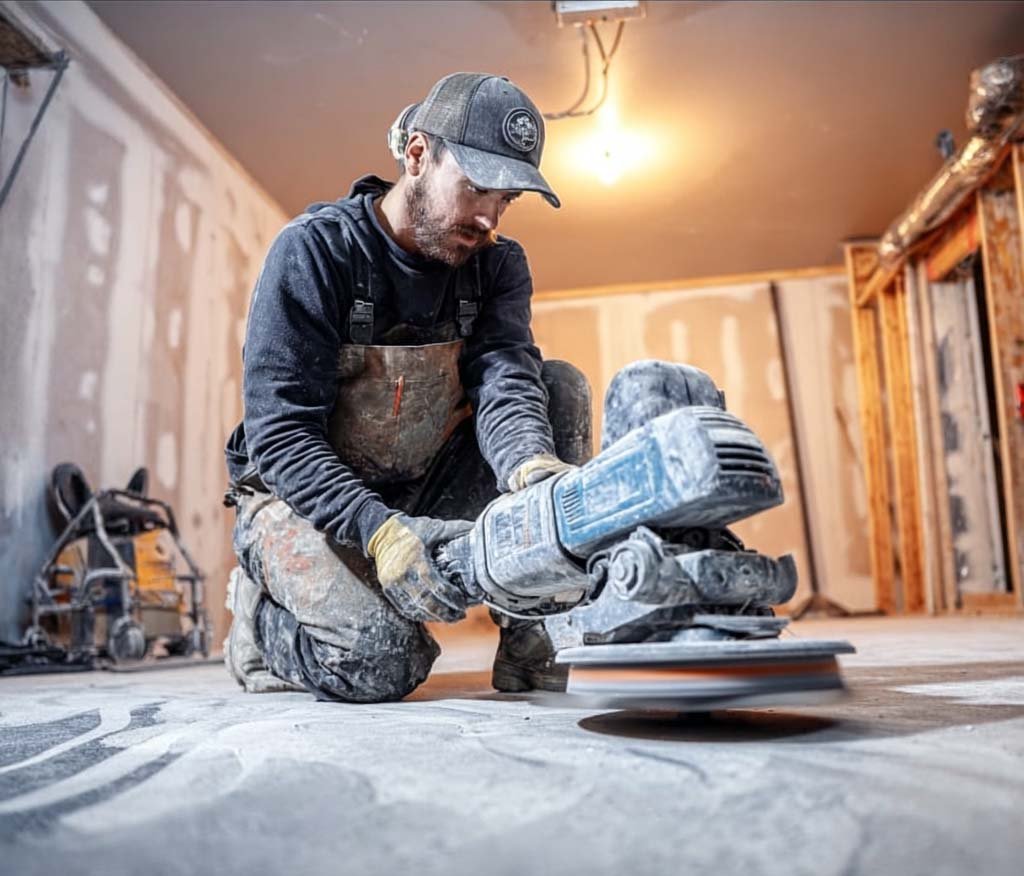
3) Diamond Grinding (Not Acid Etching)
Diamond grinding is the gold standard for coating prep. It:
Removes weak surface paste
Opens the pores
Creates the correct concrete surface profile (CSP) for bonding
Acid etching is inconsistent (and often fails on dense/finished concrete). Grinding produces a uniform profile and dramatically improves adhesion.
4) Crack and Joint Repair (The Right Way)
Cracks aren’t just “filled”—they’re prepped and repaired to reduce future telegraphing. Depending on the crack type, we may route, clean, and repair with professional-grade materials designed for coating systems.
5) HEPA Vacuum + Final Surface Inspection
During and after grinding and repairs, we HEPA vacuum thoroughly with a 500 CFM industrial vacuum and inspect for:
Remaining contaminants
Loose or soft spots
Pinholes
Areas that may need additional prep
A clean slab is critical. If dust remains, it becomes a bond breaker.
Moisture Testing For Epoxy Floors: What We Test and Why It Matters
Moisture is the silent killer of coatings. Concrete “breathes,” and moisture vapor can move upward through the slab. If a coating system traps that vapor without proper mitigation, it can cause:
Bubbles or blisters
Peeling/delamination
White haze or discoloration
Weak adhesion over time
Common Moisture Testing Methods (And What They Measure)
Calcium Chloride Test (MVER) Using A Wagner Meter
This test measures Moisture Vapor Emission Rate (MVER), typically shown as pounds of moisture per 1,000 sq ft per 24 hours (ASTM F1869).
In-Slab Relative Humidity Test (RH)
This test measures relative humidity inside the slab (ASTM F2170). RH gives a deeper view of moisture conditions, especially important when slabs have fluctuating moisture.
Different slabs need different testing. The key is understanding what the numbers mean and using a system designed to handle real-world moisture.
Our Moisture Strategy: Basecoat Epoxy + Moisture Vapor Barrier
We don’t gamble on moisture—especially in the DMV, where seasonal humidity and older slabs are common.
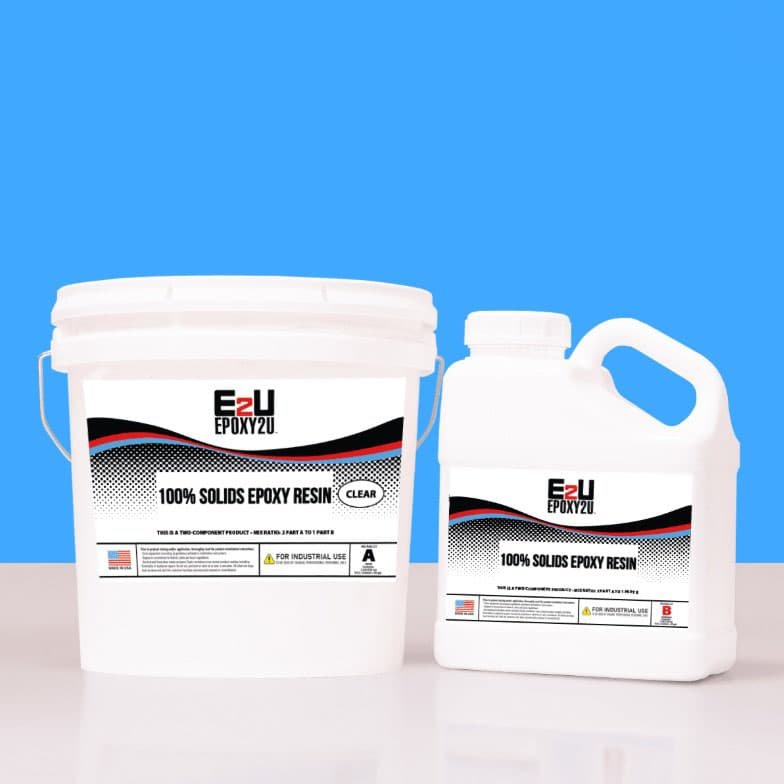
We Use Epoxy for the Basecoat (For a Reason)
Our base system includes:
Professional-grade 100% solids epoxy. See our article on why 100% solids epoxy is key to a long lasting and durable floor coating.
Our Epoxies include a moisture vapor barrier with at least 9lbs of moisture emission protection designed to prevent flaking and bubbling (Our product line-up includes epoxies such as Aquastop E-96)
A process that allows us to adjust the system if testing indicates the slab needs extra protection
Minimum moisture emission rate (MVER): 9 lbs (when measured in the standard lbs/1,000 sq ft/24 hours format).
If testing shows the slab needs more mitigation, we add a dedicated MVB coating with 25 lbs of moisture emission protection.
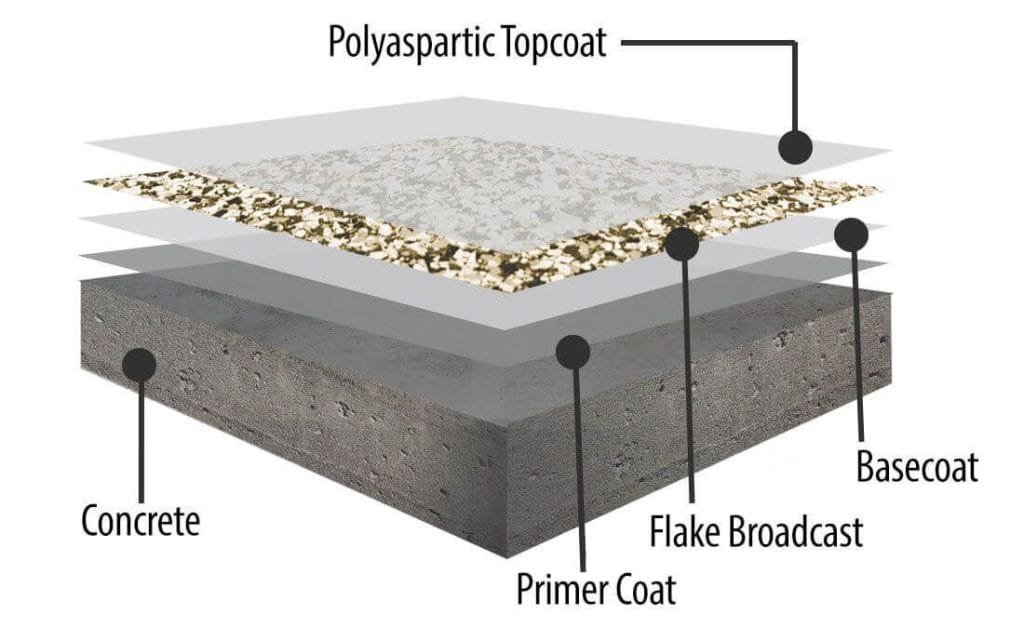
Why We Topcoat With Polyaspartic After Prep & Moisture Control
Once the slab is properly prepped and moisture-managed, we finish with a polyaspartic topcoat because it delivers:
Strong abrasion resistance for daily traffic
Excellent stain/chemical resistance
UV stability (helps reduce ambering vs many epoxies)
A slick, easy-to-clean finish that holds up to real garage use
(If you want a deeper breakdown, this pairs well with your other blog post: Epoxy vs Polyaspartic: What’s the Difference?)
Red Flags: Signs a Contractor Is Cutting Corners on Prep
If you hear any of these, be cautious:
“We don’t need to grind—etching is fine.”
“Moisture testing isn’t necessary.”
“We’ll just put on a thicker topcoat.”
“Prep is quick; we’ll be done in a couple hours.”
Prep is not the glamorous part of the job, but it’s the part that determines whether your floor lasts months or years.
How to Know If Your Concrete Might Have Moisture Issues
Some common signs include:
Dark spots that come and go with weather
Past paint or coatings that peeled
Efflorescence (white chalky residue)
Basements, garages, and slabs-on-grade with no vapor barrier underneath
Your concrete slab is below grade or at the bottom of a hill
Even if you don’t see moisture, testing can reveal what’s happening below the surface.
Get a Floor That Bonds, Cures, and Lasts
At DMV Epoxy Pro, we don’t just install coatings—we build systems designed for the slab you actually have. That starts with diamond grinding, professional repairs, moisture testing, and a moisture vapor barrier basecoat before we ever apply the finish.
Want a quote or have questions about your slab?
Interested in the difference between flake and metallic epoxy floor coatings, check our our detailed article. Want to know more about the coating process for your concrete slab, check out our Garage Coatings or Commercial epoxy floors pages for more info. Or, request a free estimate and we’ll walk you through prep, moisture, finish options, and timelines.